


Master CNC Setup & Optimization: The Complete Job Shop Guide
If you run a job shop or manage a production floor, you know the sound of silence is the most expensive noise in the world. When the spindle isn’t turning, you aren’t making money.
Most machinists and shop owners obsess over “speeds and feeds.” They want to know if they can push an endmill 10% harder or shave three seconds off a cycle time. While that’s valuable, it’s often chasing pennies while dollars fly out the window during setup.
In my 15+ years on the floor, I’ve found that the real killer of profitability isn’t slow cutting—it’s the two hours a machine sits idle between jobs while an operator hunts for a 1/2-inch collet or trams a vice.
This guide isn’t just about cutting metal faster; it’s about engineering a workflow where the machine is waiting on the operator as little as possible. Whether you are running a high-mix, low-volume prototype shop or a mid-scale production run, the principles of setup reduction and process optimization are the fastest route to better margins.
The Economics of Setup: Why It Matters More Than You Think
Let’s be honest about the math. If you charge $120/hour for machine time, a four-hour setup costs you $480 before you’ve even made a chip. If that job is only for five parts, your setup cost per part is nearly $100.
This is where Overall Equipment Effectiveness (OEE) comes into play. In many job shops, machines are only actually cutting metal—the “value-add” time—about 30% to 40% of the shift. The rest is setup, loading/unloading, and troubleshooting.
The Bottom Line: Reducing your cycle time by 10% is good. Reducing your setup time by 50% is transformative. If you can move from a 2-hour changeover to a 15-minute changeover (the goal of SMED, or Single-Minute Exchange of Die), you essentially unlock “free” machine capacity without buying new equipment.
Phase 1: The “Offline” Setup (Preparation)
The biggest mistake I see competitors make is treating setup as something that happens at the machine. Efficient setup starts hours, or even days, before the previous job finishes.
CAM Strategy: Program for the Setup
A great programmer doesn’t just think about the part; they think about the person setting it up.
- Origin Selection: Always choose a logical work offset (G54) that is easy to find. Don’t set your Z-zero on a random feature that gets machined away unless absolutely necessary. Use the fixed jaw of the vice or a standardized fixture point.
- Standardize Tool Numbers: If your shop uses a 1/2″ rougher, make it Tool #1 in every program. If an operator has to tear down Tool #1 to put in a drill, and then put the rougher back in for the next job, you have failed the prep phase.
The “Pit Crew” Mental Model
Think of Formula 1. The pit crew doesn’t run to the garage to get tires after the car stops. The tires are there, heated and ready, before the car enters the lane.
You need to adopt a “Kit” approach. Before a machine finishes its current run, the next job should be staged on a cart:
- Material cut to size.
- Required fixtures (jaws, clamps).
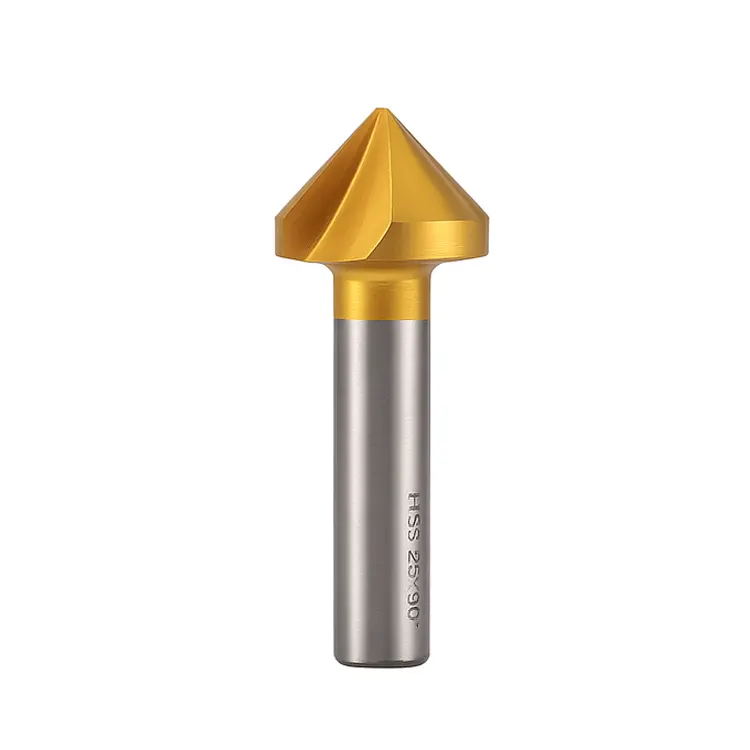
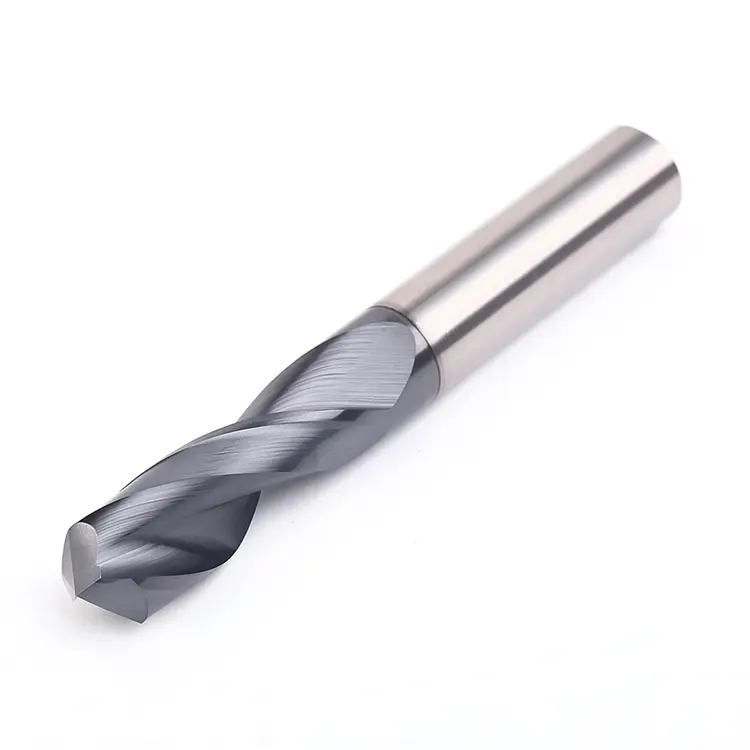
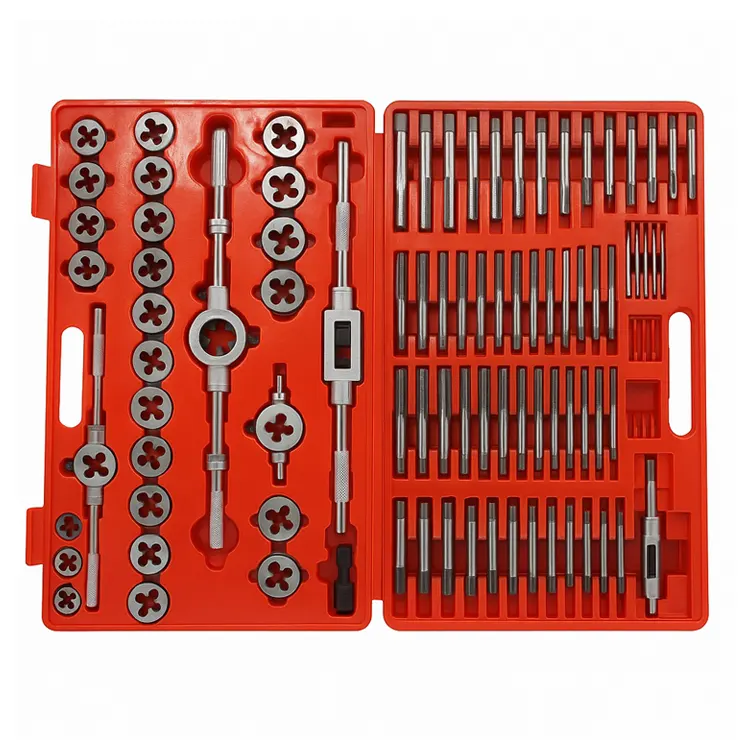
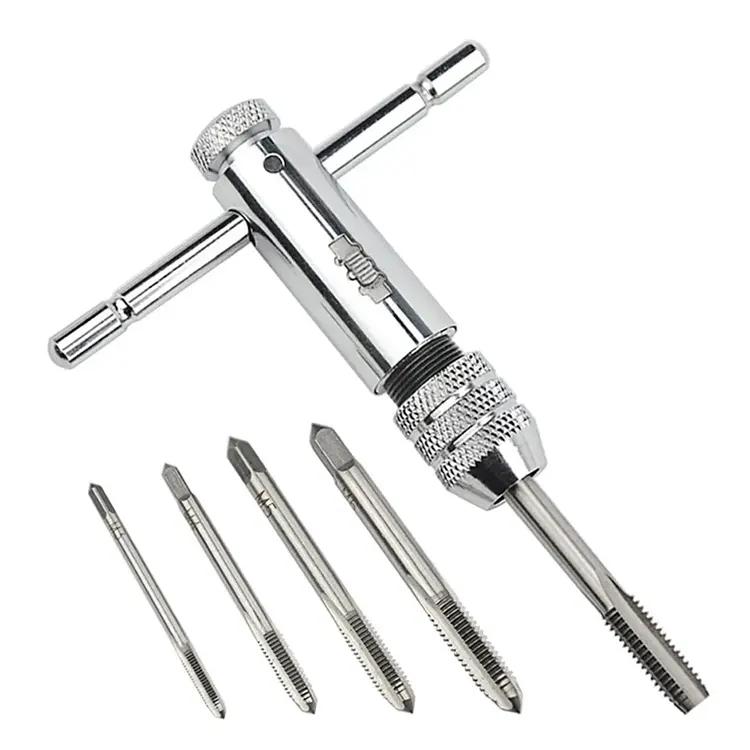
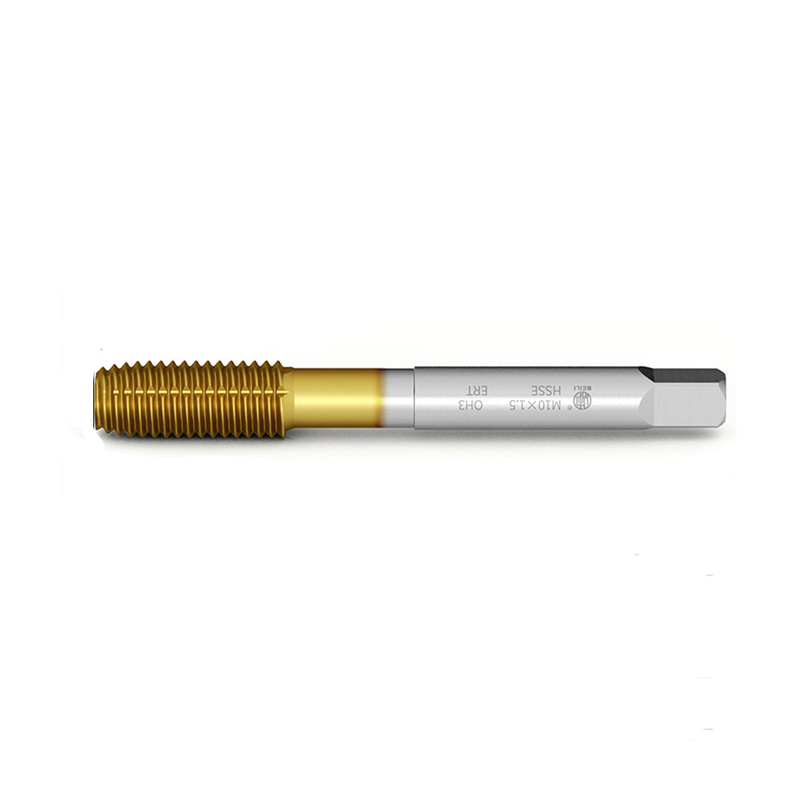
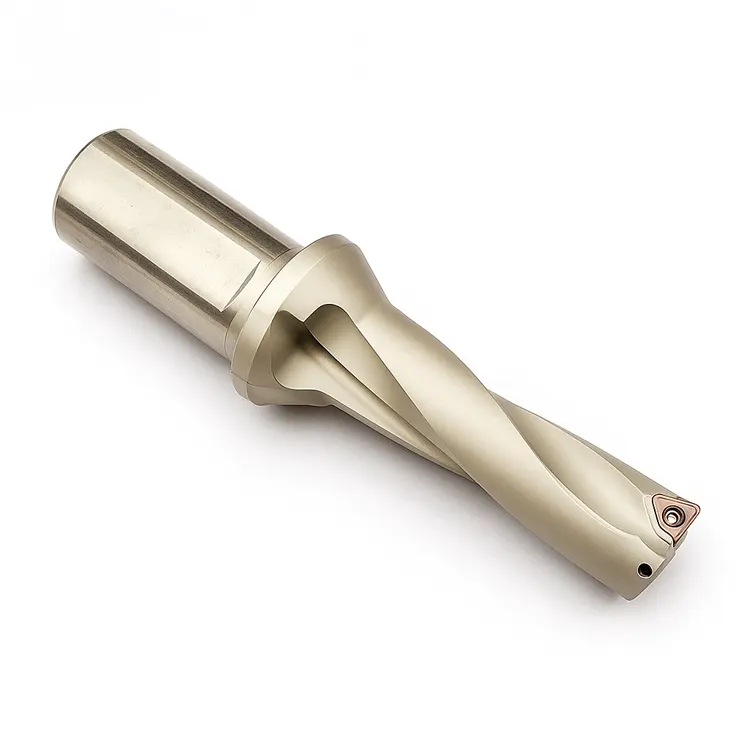
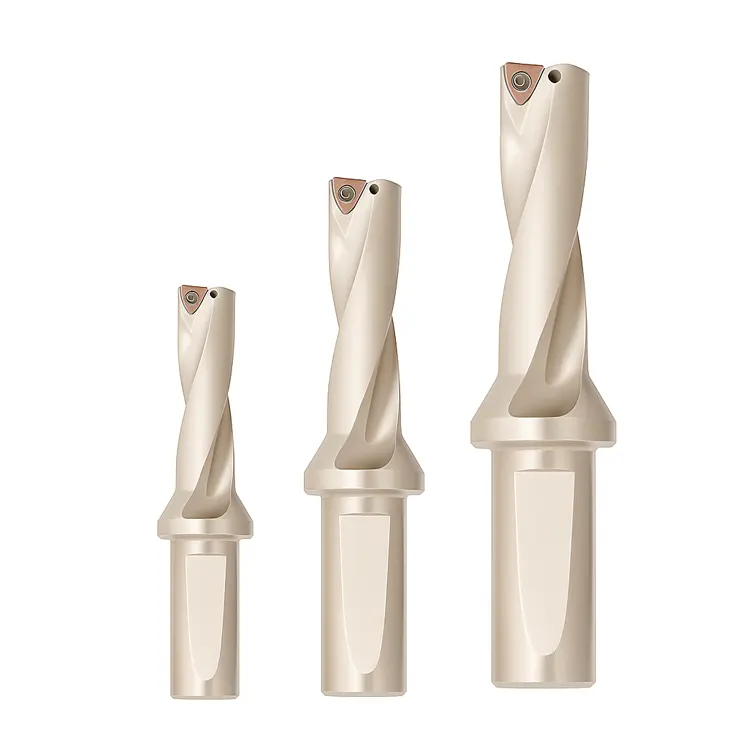
- Specialty tooling (taps, form tools) pre-assembled in holders. When selecting these tools, always consult material-based drilling guides to ensure the geometry matches the specific alloy you are cutting.
- Setup sheet and prints.
If your spindle stops and your operator walks to the tool crib to find a drill, you are burning cash.
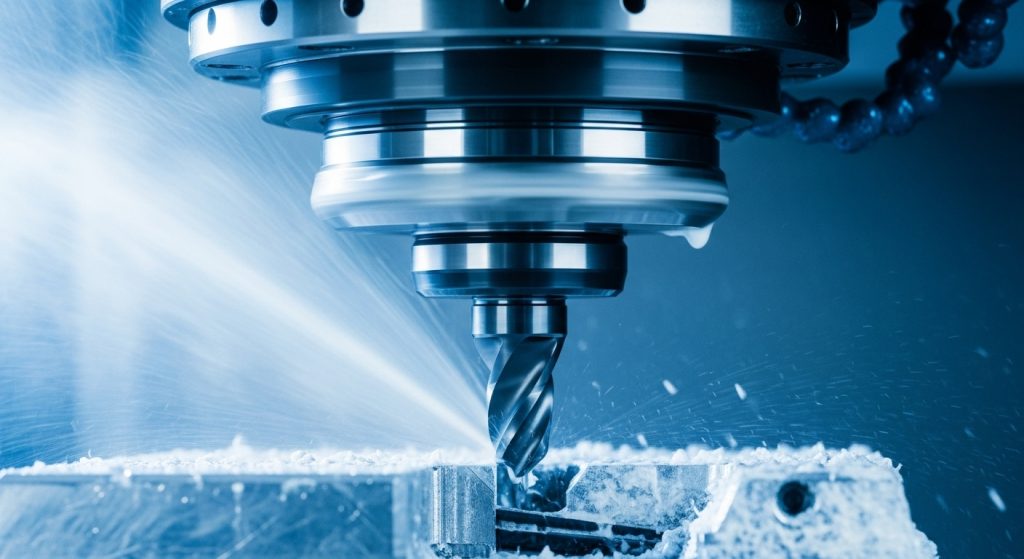
Phase 2: Physical Machine Setup & Workholding
Once you are at the machine, rigidity and repeatability are king. The faster you can secure the part accurately, the faster you hit the green button.
Standardization is Speed
If every job requires you to unbolt a vice and bolt down a fixture plate, you need a better system.
- Modular Fixture Plates: These allow you to drop vices or clamps into pinned holes with near-perfect repeatability.
- Vice Stops: Never “eyeball” a part location. A $20 vice stop saves 5 minutes of edge-finding on every single part.
- Soft Jaws: For odd-shaped parts, machine a negative of the part into aluminum soft jaws. It takes time upfront but saves hours in workholding adjustments later.
Is Zero-Point Clamping Worth It?
Zero-point systems allow you to swap entire fixtures in seconds with micron-level repeatability.
Quick Answer: For high-mix shops (changing jobs 2-3 times a day), zero-point clamping is likely the highest ROI investment you can make. It turns a 45-minute vise alignment into a 30-second “click.”
Probing vs. Edge Finders
I still love a mechanical edge finder for the “feel,” but in a production environment, automated probes (like Renishaw) are superior.
A probe doesn’t just find zero; it can check for misloading. You can program the machine to probe the raw stock before machining. If the stock is crooked or the wrong size, the machine alarms out before it breaks a $200 endmill. That’s cheap insurance.
Phase 3: Tooling & Offsets
This is where the technical “scary” stuff happens—crashes. Most crashes happen because of bad tool length offsets (TLO) or work offsets.
Managing Tool Length Offsets (TLO)
Never manually type numbers into the control if you can avoid it. “Fat-fingering” a number (typing 10.0 instead of 1.0) is the most common cause of spindle replacement.
- Use a Tool Setter: Whether it’s a laser or a touch-off puck, automated setting removes human error.
- The “Master Tool” Method: Some shops use a master tool (like a specific probe or precision bar) to set all Z-offsets relative to the table, rather than the part. This allows you to change parts without re-measuring every single tool.
Cutter Compensation (G41/G42)
In precision manufacturing, tools wear down. A 0.500″ endmill becomes 0.499″ eventually.
Don’t reprogram the part in CAM for wear. Use Cutter Compensation in the machine control. This allows the operator to adjust the tool diameter by -0.001″ at the control panel to hold tight tolerances without bothering the programmer.
Optimization: Reducing Cycle Time (The “Run” Phase)
Once the setup is solid and the first part is good, now we look at the cycle time.
High-Efficiency Milling (HEM) / Dynamic Milling
Traditional milling (taking shallow cuts at full width) is inefficient and kills tools. Modern optimization relies on HEM.
What is HEM? It involves taking a large depth of cut (using the whole flute length) but a very small radial step-over (10-15%), running at high feed rates.
- Benefit: It distributes heat into the chip, not the tool.
- Result: Tools last 5x longer, and material removal rates skyrocket.
Minimizing “Air Cutting”
Watch the machine run. How much time does the tool spend moving through the air?
- Optimize Retract Planes: CAM software defaults to safe, high retracts (e.g., 2 inches above the part). If you are sure of your clamps, lower that retract plane to 0.1 inches.
- Rapid Moves: Ensure your post-processor is using G0 (maximum rapid) for positioning moves, not G1 (feed rate).
Chip Thinning
This is a concept often overlooked. When you take a very light radial cut (less than 50% of the cutter diameter), the chip actually gets thinner than the programmed feed rate.
The Trick: You need to increase your feed rate to maintain the proper chip load. If you don’t, you’ll rub the material instead of cutting it, which work-hardens the part and destroys the tool.
The “Human Element”: SOPs and Checklists
You can have the best machines in the world, but if your process relies on “tribal knowledge” (info that only exists in Mike’s head), you aren’t optimized.
You need Standard Operating Procedures (SOPs).
The Pilot Checklist
Pilots with 20,000 flight hours still use a checklist before takeoff. Machinists should too. A simple laminated card at the machine can save thousands in crashed spindles.
- Is the vice torqued?
- Is the TLO set?
- Did I dry run the first pass?
- Is the coolant concentration correct?
FAQ: Common Questions on CNC Optimization
How do I calculate the ROI of a Zero-Point clamping system?
Calculate your current setup time average (e.g., 1 hour) vs. the projected time with zero-point (e.g., 5 mins). Multiply the time saved by your hourly shop rate and the number of setups per year. Most shops see a break-even point in less than 6 months.
What is the difference between rapid override and feed rate override?
Rapid override controls G0 moves (non-cutting movement). Feed rate override controls G1/G2/G3 moves (cutting movement). During a first-run setup, keep rapid low (5-25%) to prevent crashes, but keep feed rate at 100% to ensure proper chip load.
Why is my surface finish poor even with optimized feeds?
Vibration is usually the culprit. Check your workholding rigidity first. If the part is vibrating, no feed rate tweak will fix it. Also, check for tool runout—a tool spinning slightly off-center will leave a “beat” pattern on the floor of the part.
What is SMED in manufacturing?
SMED stands for Single-Minute Exchange of Die. It is a lean manufacturing concept aimed at reducing setup times to less than 10 minutes (single-digit minutes). It involves converting internal setup elements (done while the machine is stopped) to external elements (done while the machine is running).
How does High-Speed Machining (HSM) differ from standard CNC?
HSM isn’t just about high RPM. It involves specific strategies like lighter radial cuts, higher feed rates, and “look-ahead” capabilities in the machine controller to maintain constant motion without jerking or stopping at sharp corners.
Conclusion
Optimization isn’t a destination; it’s a loop. You prep, you set up, you run, and then you analyze what went wrong to do it better next time.
Start by organizing your “offline” processes. Get your tools staged and your carts ready. Then, look at your workholding—rigidity is the foundation of speed. Finally, dive into the code and optimize those toolpaths.
At Accurate Cut, we treat every micron and every second with respect. That’s how we deliver precision parts on time, every time. If you’re looking for a manufacturing partner who understands the engineering behind the machining, reach out to us for your next project.