


Mastering Indexable Drilling: The Ultimate Guide to Fundamentals & Best Practices

There is a specific sound that makes every machinist’s stomach drop. It’s not the high-pitched whine of a spindle ramping up—it’s that sudden, sickening crunch that happens when a tool fails deep inside a part.
If you’ve worked with indexable drills long enough, you know that sound. It usually means the difference between swapping out a $12 insert and scrapping a $300 drill body (and potentially the workpiece).
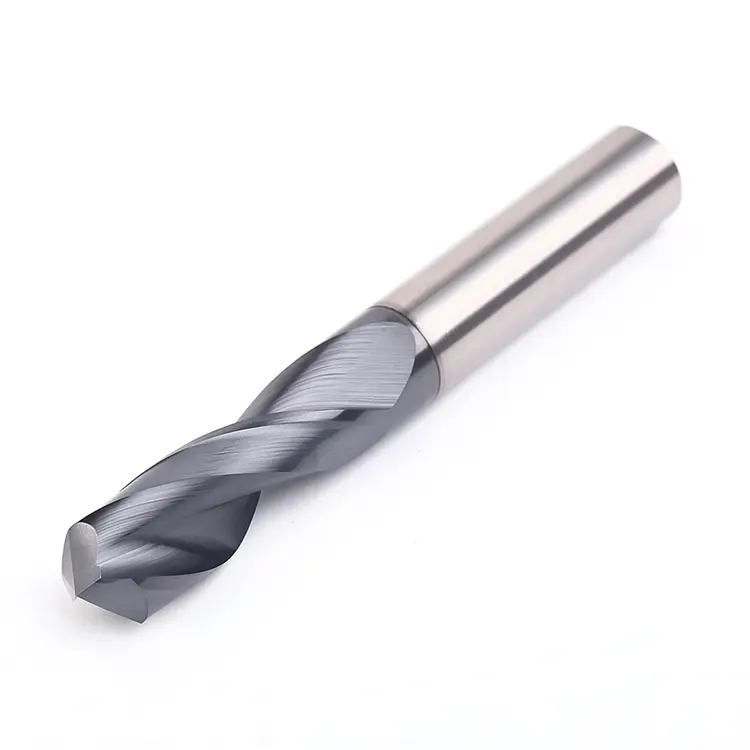
In my 15+ years on the shop floor, I’ve found that indexable drills are often the most misunderstood tools in the carousel. They are absolute workhorses for roughing, capable of removing material three times faster than High-Speed Steel (HSS). But they are also temperamental if you don’t respect the physics behind them. Unlike solid carbide drills that cut symmetrically, indexable drills are single-fluted, unbalanced beasts that require a specific approach to setups, feeds, and speeds.
This guide isn’t just another catalog spec sheet. We’re going to dig into the mechanics, the “why” behind the failures, and the practical strategies you need to run indexable drills confidently.
What is Indexable Drilling? (And Why It Matters)
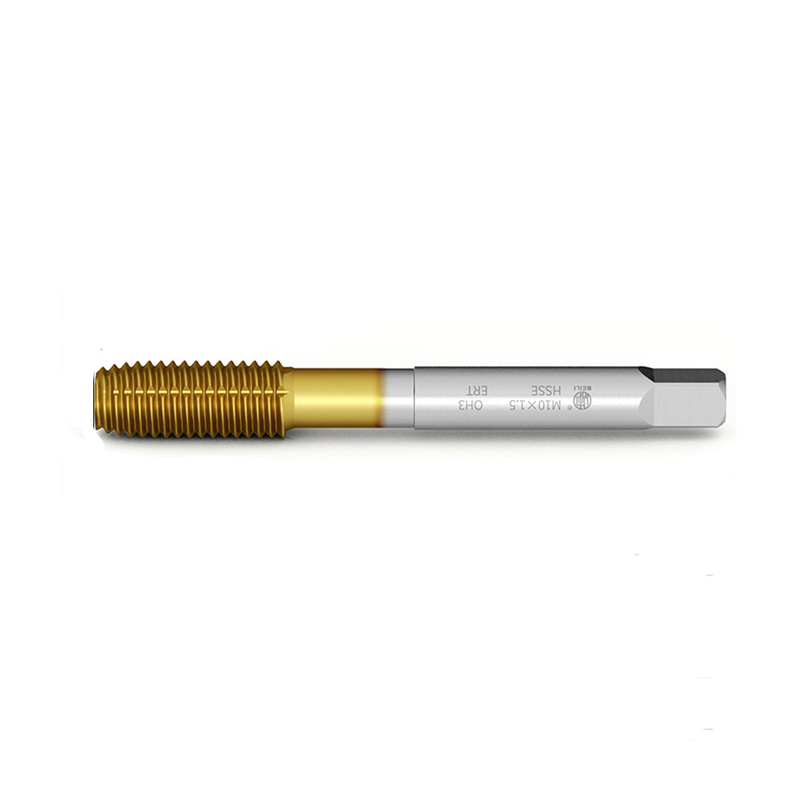
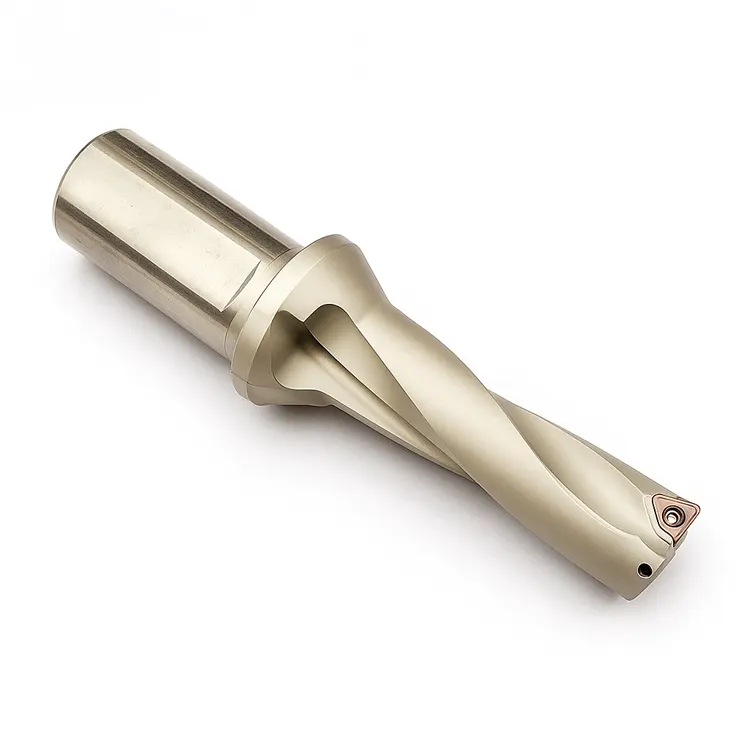
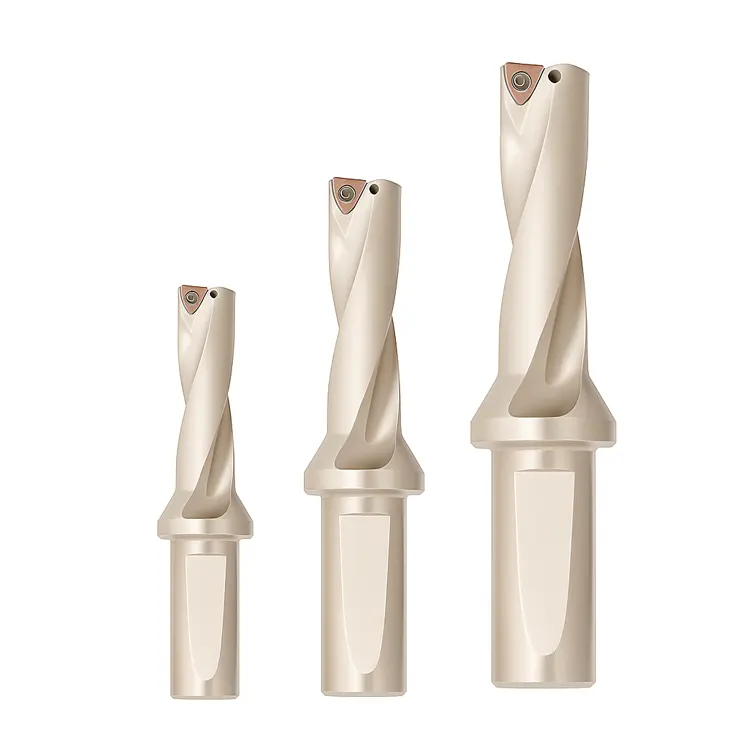
Indexable drilling utilizes a steel tool body holding replaceable carbide inserts—usually one inner and one outer—to drill holes. They are primarily used for “roughing” holes larger than 0.75″ (19mm) where speed and cost-efficiency outweigh tight tolerances.
The economics here are simple but powerful. If you’re drilling a 1-inch hole, a solid carbide drill might cost you $300+. If you chip that carbide, the tool is toast (or needs an expensive regrind). With an indexable drill, you’re risking two inserts worth maybe $25 total.
The Bottom Line:
- Speed: Higher metal removal rates (MRR) than HSS or Spade drills.
- Versatility: On a lathe, you can offset the X-axis to bore holes larger than the drill diameter—a trick you absolutely cannot do with solid carbide.
- Cost: Lowest cost-per-hole for diameters over 20mm.
The Anatomy of an Indexable Drill
To master these tools, you have to understand that they are inherently unbalanced.
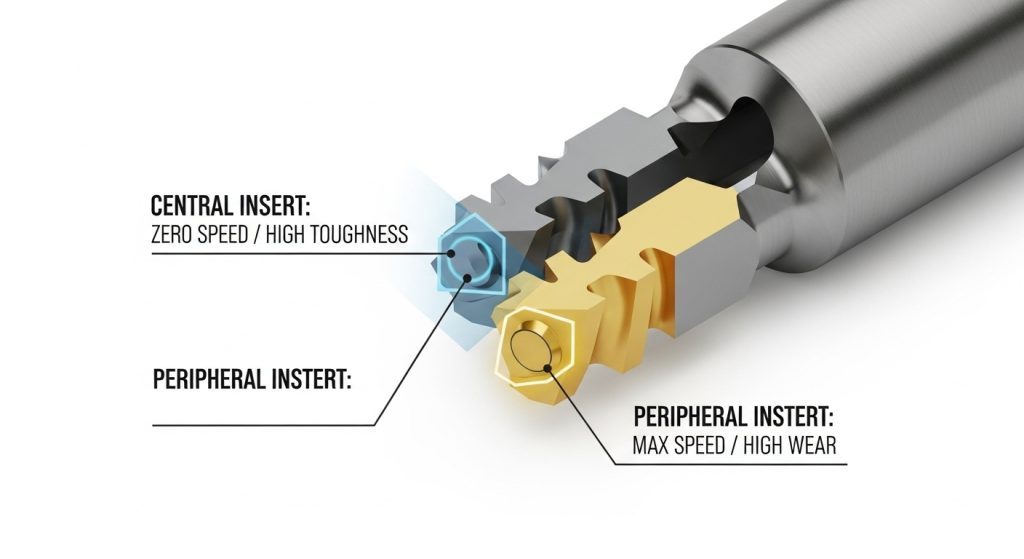
Solid drills have two cutting edges perfectly opposite each other, canceling out radial forces. Indexable drills have an inner insert and an outer insert.
- The Central (Inner) Insert: This cuts the center of the hole where surface footage is effectively zero. It’s doing the heavy lifting, pushing material out of the way. It needs toughness.
- The Peripheral (Outer) Insert: This defines the hole diameter and cuts at maximum surface footage. It takes the heat and abrasion. It needs wear resistance.
The “Grade” Mistake
A common mistake I see in shops is operators putting the same grade of insert in both pockets. Don’t do this.
- Inner Pocket: Use a PVD-coated grade (tougher, handles shock better).
- Outer Pocket: Use a CVD-coated grade (harder, handles heat/speed better).
Indexable vs. Solid Carbide vs. Spade Drills
Choosing the right tool is half the battle for ensuring an accurate cut and efficient cycle time. Here is the decision matrix I use when planning a process:
| Feature | Indexable Drill | Solid Carbide Drill | Spade Drill |
| Best Diameter Range | 0.75″ – 2.5″ (19mm – 63mm) | 0.01″ – 0.75″ (0.25mm – 19mm) | 2.0″+ (50mm+) |
| Hole Tolerance | Loose ($\pm$ 0.005″ – 0.010″) | Tight ($\pm$ 0.001″ – 0.003″) | Loose |
| Surface Finish | Rough (Expect tool marks) | Excellent | Rough |
| Speed (Feed/Rev) | High | Very High | Low |
| Rigidity Needed | High | Moderate | High |
Expert Insight: If your print calls for an H8 tolerance hole, do not try to hit it with an indexable drill in one shot. Use the indexable to rough it 0.015″ undersize, then follow up with a boring bar or reamer. Trust me, you will chase that tolerance all day if you don’t.
Critical Setup: Getting the Mechanics Right
Because indexable drills are single-flute tools, they are prone to deflection. If the drill deflects when it enters the cut, the hole will wander, and the drill body will rub against the wall, eventually welding itself to the part.
Lathe Setup (Stationary Drill)
On a lathe, the part spins, and the drill is stationary. The most critical factor here is Center Height.
- The drill tip must be within $\pm 0.002″$ of the spindle centerline.
- If the drill is too high: The central insert will rub, causing premature failure.
- If the drill is too low: You’ll leave a “pip” or un-cut nub in the center that can snap the inner insert.
Pro Tip: Mount the drill so the face of the inserts is parallel to the X-axis. This helps gravity pull the chips down and out of the flute during the cut.
Mill Setup (Rotating Drill)
Here, rigidity is king. While collet chucks are great for runout (concentricity), they often lack the gripping power for the aggressive axial forces of indexable drilling.
- Use a Side-Lock (Weldon) Holder: I know, I know—runout matters. But for roughing drills, the anti-pullout security and rigidity of a side-lock holder usually outperform a collet chuck.
- Runout limit: Keep it under 0.002″ TIR. Any more, and your “20mm” drill is acting like a boring bar, cutting an oversized hole and screeching the whole way down.
Operating Parameters: Feeds, Speeds, and Coolant
You cannot “baby” an indexable drill. I’ve seen operators slow down the feed rate because they are scared of the noise. This is the worst thing you can do.
These drills need to bite. If the feed is too light, the inserts rub instead of cut, generating massive heat and work-hardening the material (especially in stainless steel or Inconel).
The “Sweet Spot” Formula
- Speed (RPM): Calculate based on the Peripheral insert’s recommended Surface Feet per Minute (SFM).
- Feed (IPR): Typically 0.003″ to 0.012″ per revolution, depending on diameter.
$$\text{RPM} = \frac{\text{SFM} \times 3.82}{\text{Drill Diameter}}$$
Example: For mild steel using a 1-inch drill at 600 SFM:
- RPM ≈ 2,300
- Feed ≈ 0.006 IPR
- Penetration Rate: nearly 14 inches per minute. That is moving metal!
Coolant: Pressure vs. Volume
You need high pressure (minimum 150 PSI, ideally 300+ PSI) to blast chips out of the hole. But volume matters too. If you are drilling deep (3xD or more), through-spindle coolant (TSC) is non-negotiable. Without it, you are just packing chips at the bottom of the hole until the drill snaps.
The 4 Most Common Mistakes (and How to Fix Them)
1. The “Peck Drilling” Habit
If you take nothing else from this article, take this: Do not peck drill with an indexable drill.
Pecking causes thermal shock to the carbide and chipping on the cutting edge. Indexable drills are designed to run continuous cuts. If you need to break chips, adjust your feed rate, don’t peck.
2. Ignoring the “Disc”
When an indexable drill breaks through the bottom of a part, it doesn’t cut a clean hole immediately. It ejects a small disc or “slug” of material because the center insert breaks through before the outer one.
- The Risk: If that disc flips sideways and gets trapped, it can destroy the drill body.
- The Fix: If possible, stop the drill 0.050″ short of breakthrough and finish with a boring bar, or reduce the feed rate by 50% for the final 1/8th inch.
3. Entering Uneven Surfaces
Indexable drills hate convex or slanted surfaces. The outer insert will touch first, deflecting the tool immediately.
- The Fix: Mill a small flat spot (spot face) first. It adds 10 seconds to the cycle but saves hours of troubleshooting.
4. Not Checking the Screws
It sounds basic, but when was the last time you changed the Torx screws holding the inserts? These screws stretch over time and undergo massive thermal cycling. Replace them every 10 insert changes. It’s cheap insurance.
Troubleshooting Indexable Drilling Issues

Machines talk to us. You just have to know the language.
- The Sound:
- Low Hum/Rumble: Good. The tool is cutting.
- High-Pitched Screech: Chatter. Usually means lack of rigidity or speed is too high.
- Crunching/Popping: Chip packing. Stop immediately. Increase coolant pressure.
- The Chip:
- 6s and 9s: Perfect. Small, tight curls shaped like numbers.
- Long Stringy Nests: Feed rate is too low. Push the tool harder to break the chip.
- Powder/Dust: Feed is too high (or material is cast iron).
Conclusion
Mastering indexable drilling isn’t about memorizing a catalog; it’s about understanding the balance of forces. When you get the setup right—rigid holding, correct insert grades, and aggressive feed rates—these tools are incredibly efficient.
Don’t be afraid to push them. In my experience, 90% of indexable drill failures come from being too gentle, not too aggressive.
Go look at your current setup sheets. Are you peck drilling with an indexable? Are you using the same grade for inner and outer pockets? Make those two changes today, and watch your insert life double.
FAQ: Indexable Drilling
What is the maximum L/D ratio for indexable drills?
Standard bodies usually go up to 5xD (5 times the diameter). Anything deeper usually requires a pilot hole or a specialized “long” drill body, and you must reduce speeds significantly to avoid vibration.
Can I use an indexable drill as a boring bar?
Yes! This is a massive advantage on lathes. Since the outer insert cuts the diameter, you can shift the drill in the X-axis to bore the hole slightly larger than the nominal drill size. However, you can usually only adjust up in size, not down.
Do I need a pilot hole for an indexable drill?
Generally, no. In fact, entering a pilot hole can sometimes cause chatter because the central insert isn’t engaged in the material to stabilize the drill. Just spot face if the surface is uneven; otherwise, drill straight in.
Why is my hole oversized?
This is usually due to “runout” or deflection. Check that your drill is on center (lathe) or your tool holder is running true (mill). Also, ensure the outer insert screw isn’t loose, allowing the insert to push out.
Can I use indexable drills on aluminum?
Yes, but you need specific inserts. Standard steel-grade inserts have coatings that aluminum loves to stick to (Built-Up Edge). Use uncoated, highly polished carbide inserts designed for non-ferrous metals to ensure chip evacuation.