


Industrial Drill Maintenance & Buying Guide: Maximizing Tool Lifespan and ROI
If there is one truth I’ve learned after fifteen years on shop floors, it’s this: there is nothing more expensive than a “cheap” tool failing on a Friday afternoon.
When a drill goes down in a production environment, you aren’t just losing the cost of the tool. You’re losing operator time, you’re halting the assembly line, and if you’re really unlucky, you’re scrapping a workpiece because a wobbling chuck ruined a precision tolerance.
In the manufacturing world, a drill isn’t a consumable item—it’s a capital asset. Yet, I constantly see procurement managers buying based on sticker price rather than Total Cost of Ownership (TCO), and maintenance teams ignoring drills until they smoke.
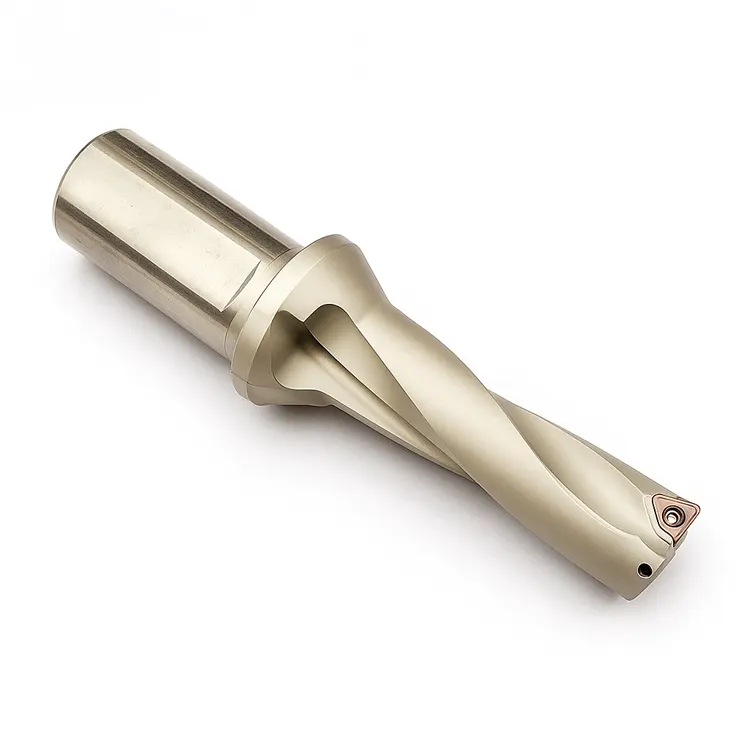
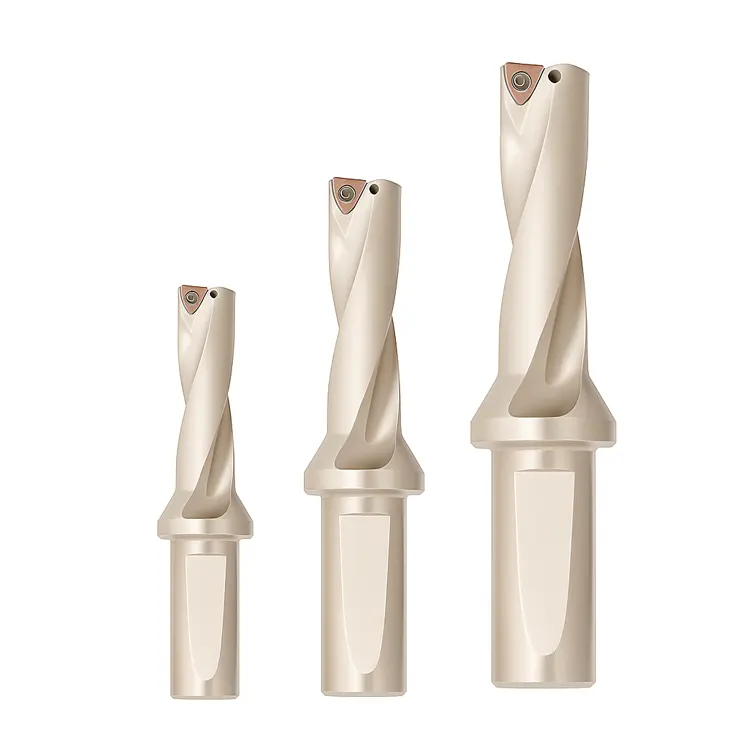
Whether you are managing a fleet of cordless tools for an HVAC crew or overseeing a complex operation that requires a deep understanding of our indexable drilling guide, this article covers what the manuals usually leave out: how to buy the right tool for the duty cycle, and exactly how to keep it running for years, not months.
The Buying Guide – Selection for the Shop Floor
Before we talk about maintenance, we have to talk about procurement. You cannot maintain a tool that was never designed for the job you’re asking it to do. If you are buying homeowner-grade drills for an industrial application, you are burning money.
The “Duty Cycle” Reality Check
In a DIY setting, a drill might run for 10 minutes a week. In a factory, it might run for 4 hours a day. This is the Duty Cycle.
When selecting a drill, look past the voltage. A 20V drill from a big-box store is not the same as a 20V industrial drill from a professional supplier. Here is the metric that actually matters: Torque (Nm) at Sustained Load.
High-speed motors with low torque overheat quickly when drilling through steel or hardwood. To mitigate heat, it is also essential to pair your tool with the correct bits; reviewing our drill insert coatings guide can help you reduce friction and extend motor life. For production environments, you need a tool with a gearbox designed to handle heat dissipation.
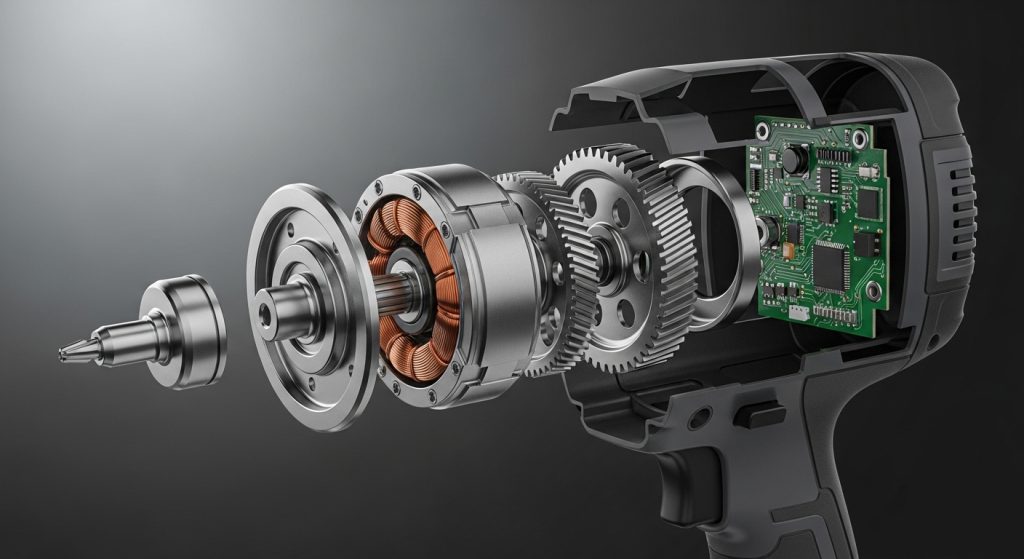
The Engine Room: Brushed vs. Brushless
If you are still buying brushed motor drills for your facility, stop.
The Bottom Line: Always choose Brushless Motors for industrial applications. They run 50% cooler, have no carbon brushes to replace, and electronically adjust power draw to prevent burnout.
Here’s the technical breakdown:
- Brushed Motors: Rely on physical carbon brushes to conduct electricity to the spinning armature. This creates friction, heat, and carbon dust. In a clean room or electronics facility, that conductive dust is a liability.
- Brushless Motors: Use an electronic controller to switch the magnetic field. There is no physical contact. This eliminates “parasitic drag,” meaning more battery energy goes into drilling holes and less into generating heat.
Critical Specs Often Overlooked
Most spec sheets highlight “Max RPM,” but for MRO (Maintenance, Repair, and Operations), you should be looking at these three factors:
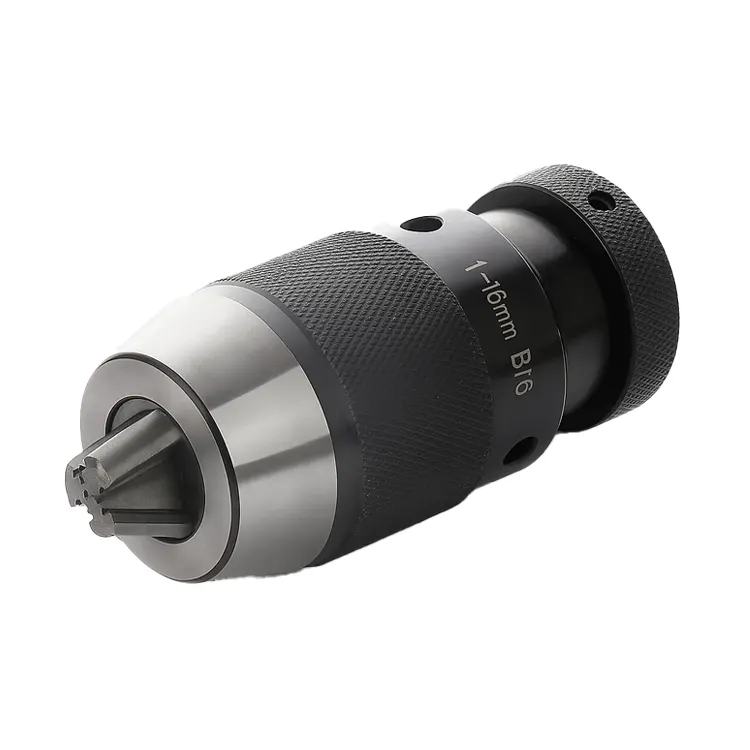
- Chuck Runout: This is the amount of “wobble” at the tip of the bit. For general construction, a little wobble is fine. For machining or tapping threads, you need a chuck with tight tolerances (ideally under 0.005″).
- IP Ratings (Ingress Protection): If your shop has metal shavings, coolant mist, or fine dust, you need a tool with an IP54 or higher rating. I’ve seen countless drills die because metal filings got sucked into the cooling vents and shorted the board.
- Ergonomics & Weight: This is an ROI calculation. A drill that is 10% heavier might save $50 upfront, but if it causes Carpal Tunnel Syndrome or fatigue for an operator doing 500 repetitions a day, that $50 savings evaporates instantly in workers’ comp claims.
Preventive Maintenance (PM) Protocol
You wouldn’t run a CNC machine for five years without maintenance, so why do it to your hand tools? A proper PM schedule can extend tool life by 300%.
Quick Summary:
- Daily: Wipe down and check battery contacts.
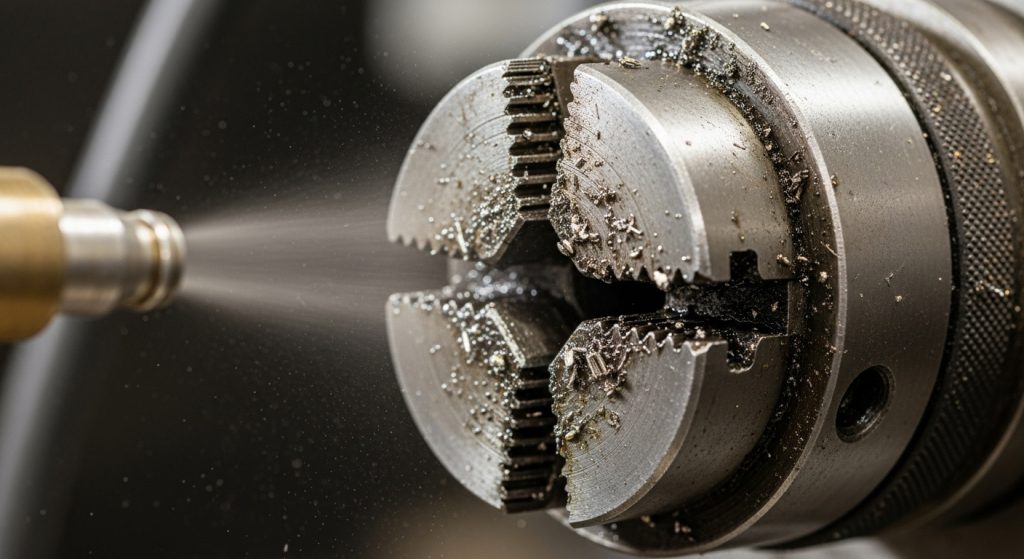
- Weekly: Clean the chuck with compressed air (low PSI).
- Monthly: Inspect side handles and trigger responsiveness.
- Yearly: Grease gearbox (if serviceable) and brush check (if applicable).
The Daily “Pre-Flight” Check
Train your operators to do a 30-second check before the shift starts.
- Visual Inspection: Look for cracks in the housing. A cracked casing destroys the structural integrity of the tool, meaning a drop that would usually be fine could snap the handle.
- Battery Contacts: Look for oxidation or pitting on the terminals. Dirty contacts increase resistance, which creates heat and reduces runtime.
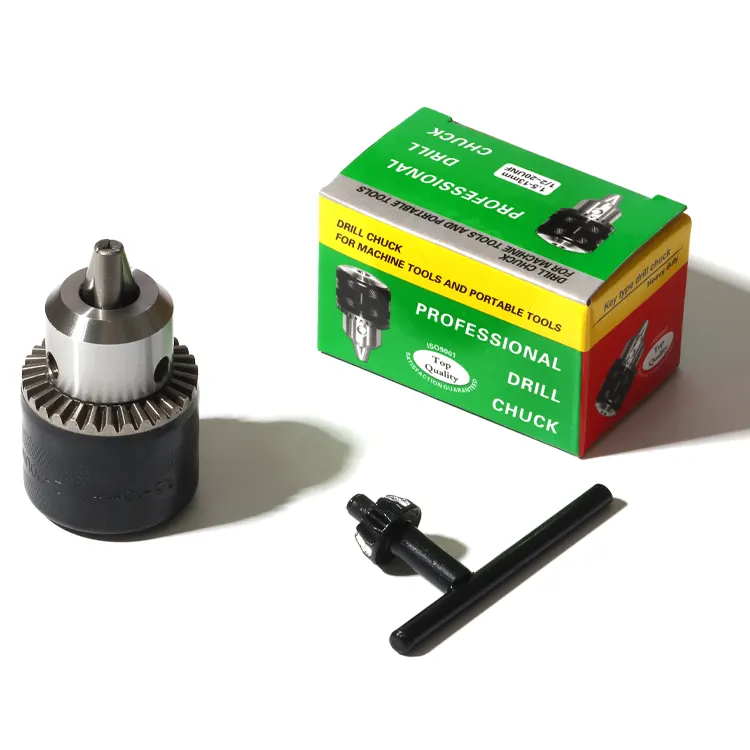
Chuck Care: The “No WD-40” Rule
Here is a common mistake I see in almost every shop: sticking chucks getting sprayed with WD-40.
Don’t do this. Standard WD-40 is a solvent and a dust magnet. If you spray it into a chuck, it turns the metal dust inside into a grinding paste that will ruin the mechanism.
The Correct Process:
- Open the chuck jaws fully.
- Use compressed air to blow out debris. Crucial: Point the air away from the motor vents to avoid forcing dust into the armature.
- Use a dry PTFE lubricant or a specialized tool oil. These lubricate without attracting grit.
- Cycle the jaws open and closed 5 times to distribute the lube.
Ventilation and Motor Cooling
The number one killer of power tools in a metal shop is metal dust. The cooling fan inside the drill creates a vacuum that sucks air (and dust) through the rear vents.
Weekly, use compressed air to blow out the vents.
Pro Tip: Do not use 100 PSI shop air directly against the bearing seals, as you can blow the grease right out of the cartridge. Regulate down to 30-40 PSI for cleaning sensitive areas.
Lubrication Strategy (The Gearbox)
Many modern industrial drills have “sealed for life” gearboxes, but heavier rotary hammers and drill presses do not.
If your tool is serviceable, the grease needs to be replaced (repacked) periodically.
- Check the Spec: Never mix grease types. Mixing a Lithium-based grease with a Moly-based grease can cause the oil to separate from the thickener, leaving you with a gearbox full of oily sludge that provides no protection.
Troubleshooting Common Failures
Before you throw a “broken” drill in the trash, try to diagnose it. In my experience, 50% of “dead” tools are easily fixable.
Symptom: Sparking and the “Ozone” Smell
- The Cause: On brushed drills, this is standard wear. On brushless drills, it shouldn’t happen.
- The Fix: If you see excessive sparking inside the housing and smell ozone (that electric burning smell), check the carbon brushes. If they are worn down to the “wear line” (usually 1/4 inch left), replace them. If the commutator (the copper bars the brushes touch) is deeply grooved, the armature is toast.
Symptom: The Chuck Slips on the Bit
- The Cause: Usually debris in the jaw retraction mechanism, or the jaw teeth are rounded off.
- The Fix: Try the cleaning method mentioned above. If the teeth are visibly rounded, replace the chuck. Most industrial drills have a removable chuck held in by a reverse-threaded screw inside the jaw opening.
Symptom: Power is Intermittent
- The Cause: This is rarely the motor. It is almost always the cord (on corded tools) or the battery terminals.
- The Fix: Wiggle the cord right where it enters the handle (the strain relief). If the power cuts in and out, the wire is broken internally. This is a 10-minute fix: cut the cord back 2 inches and re-terminate it.
Battery Management System (BMS)
For cordless fleets, the batteries are often more valuable than the bare tools. Treat them like fuel tanks.
- The Goldilocks Zone: Lithium-ion batteries hate extremes. Charging a frozen battery (below 5°C/40°F) can cause permanent plating of metallic lithium on the anode, ruining the cell. Charging a hot battery (above 40°C/104°F) degrades the chemistry.
- Storage: If you are storing drills for more than a month, do not leave them at 100% charge. Store them at 40-50%. This keeps the internal chemistry stable.
- The “Drop” Rule: If a battery pack is dropped from a significant height (e.g., off a scissor lift), quarantine it. Internal cell damage can lead to thermal runaway (fire) hours or days later.
Conclusion
Drills are the workhorses of the manufacturing world. They are often abused, dropped, and ignored—until production stops.
By shifting your mindset from “buying a tool” to “managing an asset,” you change the math. A $300 industrial drill that is maintained and lasts five years costs you $60/year. A $100 drill that burns out in six months costs you $200/year—plus the cost of the downtime.
Take action today: Walk your shop floor. Listen to the drills running. If you hear grinding, smell ozone, or see duct tape holding a battery in, it’s time to implement the maintenance protocols above.
Frequently Asked Questions (FAQ)
How often should I grease my drill press quill?
For daily use in a machine shop, check the quill lubrication monthly. Extend the quill fully and apply a light coat of machine oil or specified grease. Avoid heavy greases that attract chips.
Can I use brake cleaner to clean my drill?
You can use non-chlorinated brake cleaner on metal parts like the chuck, but be extremely careful around plastic housings and rubber grips. Solvents can melt or degrade the polymers used in modern tool bodies.
What is the difference between a hammer drill and a rotary hammer?
A hammer drill uses two mechanical discs clicking together to create vibration—good for masonry block. A rotary hammer uses a piston and air pressure to create impact—necessary for concrete and heavy industrial use.
How do I know if my drill brushes need replacing?
Watch for excessive sparking through the side vents, a decrease in torque, or the tool hesitating to start. Most brushes have a spring that pushes them forward; when the spring hits the stop, the brush can no longer make contact.
Is it worth repairing a cordless drill?
Generally, if the repair involves the switch, chuck, or casing, yes. If the motor or the main control board (PCB) has failed on a brushless tool, the part cost often exceeds 50% of a new tool, making replacement the better financial decision.