


What Is an Indexable Drill? How It Works, When to Use It, and Why It Beats Solid Carbide
If you’ve spent any time on a production floor, you know the specific pain of hearing a $200 solid carbide drill snap deep inside a workpiece. It’s not just the cost of the tool; it’s the downtime, the spark erosion needed to remove the broken bit, and the scrapped part.
In high-production manufacturing, reliability and “cost-per-hole” are everything. That is where the indexable drill reigns supreme.
While solid carbide is the gold standard for precision, the indexable drill (often called a U-Drill) is the workhorse of material removal. It’s faster, cheaper to run, and surprisingly versatile if you know the tricks. In this indexable drilling guide, we’re going to break down the physics of the tool, why the inner and outer inserts need different grades, and the lathe offset techniques that can turn a single drill into a boring bar.
What Is an Indexable Drill?
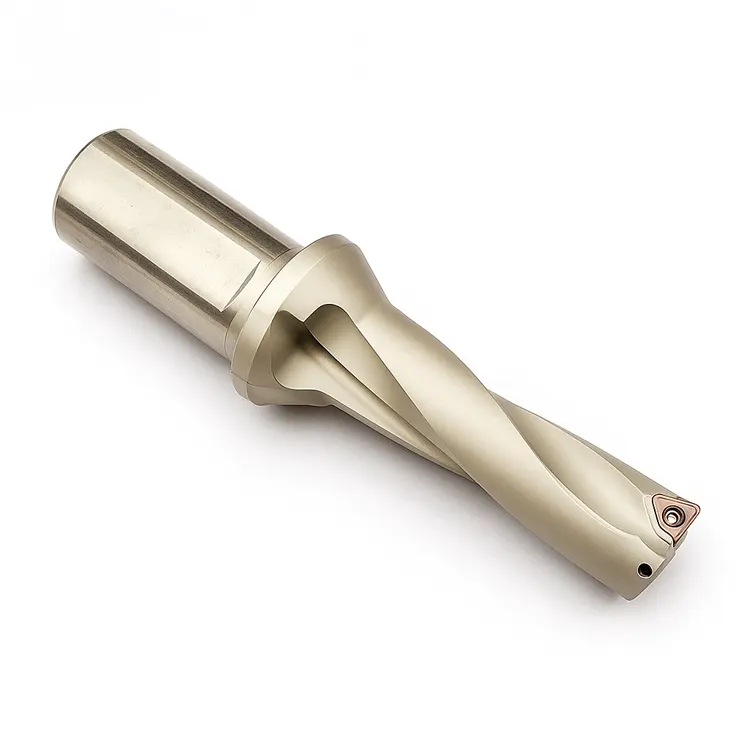
At its core, an indexable drill is a hole-making tool consisting of a reusable steel body that holds replaceable carbide inserts. Unlike a traditional twist drill which relies on helical flutes and a sharpened tip to cut, an indexable drill uses a straight flute design and creates a hole through the shearing action of two (or sometimes more) discrete inserts.
The Bottom Line: Think of it less like a drill bit and more like a boring bar that can plunge.
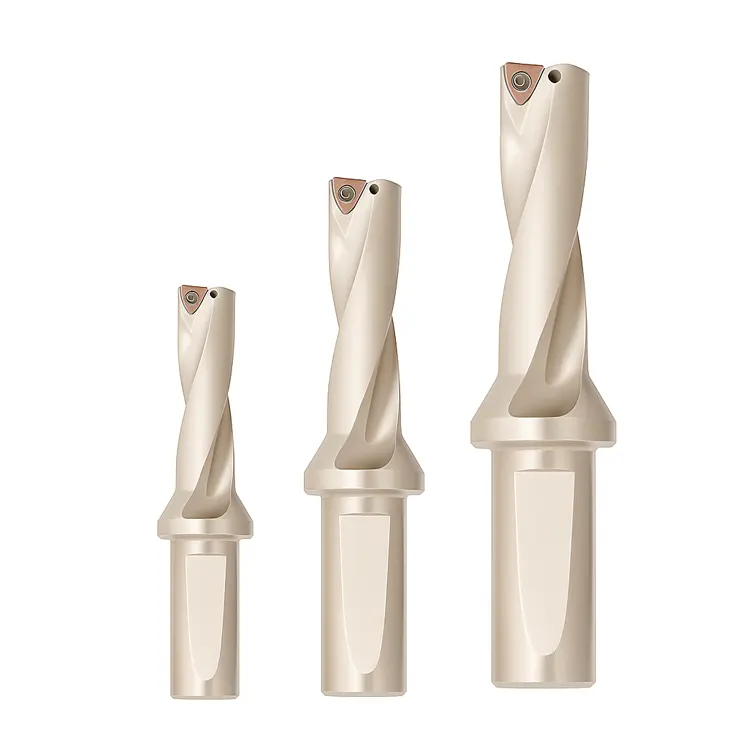
It is designed primarily for “roughing” holes—removing massive amounts of material quickly in diameters typically ranging from 0.50″ (12.7mm) up to 4.0″ (100mm) or more.
The Anatomy of the Tool
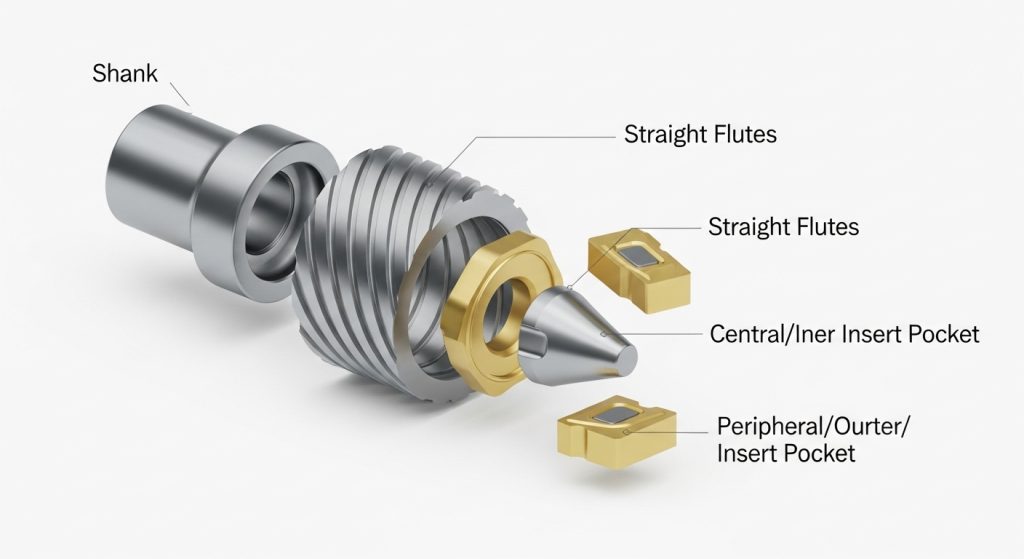
Most indexable drills have a specific layout that dictates how they perform:
- The Body: Usually hardened steel with straight flutes for chip evacuation.
- Coolant Channels: Internal holes that blast coolant directly to the cutting edge.
- The Pockets: Two seats for inserts—the Central (Inner) pocket and the Peripheral (Outer) pocket.
How an Indexable Drill Works: The Physics of Two Inserts
Here is where the engineering gets interesting, and where many operators make mistakes. The two inserts on an indexable drill are not doing the same job. They are operating in completely different physical environments.
1. The Central (Inner) Insert
This insert sits at the very center of the drill. As the drill spins, the very center point has a surface footage (SFM) of effectively zero. It isn’t cutting so much as it is extruding and pushing material.
- The Physics: It faces immense compressive forces and low speeds.
- The Requirement: This insert needs toughness. If you put a hard, brittle grade here, it will chip immediately.
2. The Peripheral (Outer) Insert
This insert sits at the edge of the diameter. It is moving at the maximum Surface Feet per Minute (SFM).
- The Physics: It generates the most heat and handles the highest abrasive wear.
- The Requirement: This insert needs hardness and heat resistance.
Pro Tip: This is why insert boxes often come in different grades. If you mix them up—putting the hard grade in the center and the tough grade on the outside—you’ll blow up the drill in seconds. I’ve seen experienced machinists make this mistake during a rushed setup; always check the grade box.
Indexable Drill vs. Solid Carbide vs. Spade Drills
Choosing the right tool isn’t about preference; it’s about the application. Here is how I break it down when planning a job:
| Feature | Indexable Drill | Solid Carbide Drill | Spade Drill |
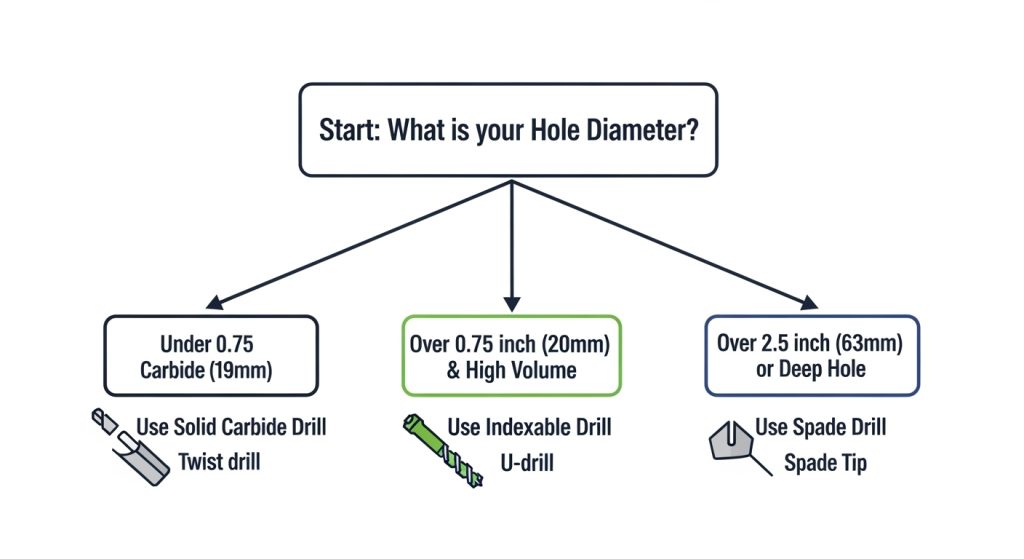
| Best Diameter | 0.75″ – 2.5″ (19mm – 63mm) | < 0.75″ (< 19mm) | > 2.5″ (> 63mm) |
| Precision | Moderate (Requires finishing) | High (H8 – H9 Tolerance) | Low |
| Surface Finish | Rough (Rifling marks) | Excellent | Rough |
| Cost Per Hole | Lowest | High | Moderate |
| Speed | Very High | High | Low/Moderate |
Quick Summary: Use Solid Carbide for holes under 20mm that need high precision. Use Indexable Drills for production holes over 20mm where speed and cost savings are critical. Use Spade Drills for very deep, large-diameter holes.
The “Lathe Trick”: Offsetting for Precision
Here is a technique that separates the operators from the machinists. On a CNC lathe, an indexable drill is the only drill that can create a hole larger than its nominal diameter.
Because the indexable drill effectively acts like a single-point boring tool on the outer edge, you can shift the machine’s X-axis to adjust the hole size.
How it works:
If you have a 1.00″ drill but need a 1.02″ hole, you can offset the X-axis by 0.01″ (radial offset). The outer insert will cut the larger diameter.
- The Advantage: You don’t need to buy a custom drill size or swap to a boring bar for clearance.
- The Limit: You can usually only offset about +0.020″ to +0.060″ depending on the drill body clearance. Check the manufacturer’s catalog for “Max Offset.”
The Safety Warning: Watch Out for the “Slug”
When you use this offset technique on a through-hole, the drill doesn’t cut all the material at the center because it’s off-center. As you break through the back of the part, a small disk or “slug” of material is left uncut and eventually ejects.
Danger: This slug can come flying out at high speed. It can jam chip conveyors or damage safety windows. Ensure your guarding is secure.
Step-by-Step: How to Set Up and Run Successfully
1. Rigidity is King
Do not try to run an indexable drill on a manual drill press or a flimsy knee mill. The cutting forces are radial (side-to-side) due to the single-sided nature of the inserts. If the machine isn’t rigid, the drill will wander, chatter, and likely weld itself to the part.
2. Skip the Spot Drill
Contrary to what you learned with HSS twist drills, do not spot drill for an indexable.
- Why? When an indexable drill enters a pre-drilled cone, the outer insert engages before the inner insert stabilizes the tool. This causes violent chatter.
- Exception: If you are drilling into a slanted or uneven surface, mill a small flat spot first (spot facing), then drill.
3. Turn Up the Pressure (Coolant)
These drills create short chips that need to be flushed out immediately. If chips pack in the flutes, the drill body will rub against the hole walls. Friction heat builds up instantly, and the steel body will plasticize and weld to the workpiece.
- Requirement: You need through-spindle coolant. Ideally 150 PSI minimum for 3xD depth, and significantly higher (300+ PSI) for 5xD or deeper.
4. Speeds and Feeds
Indexable drills love speed. For mild steel, you might start around 600-800 SFM.
- Feed Rate: Usually 0.002″ to 0.006″ per revolution (IPR).
- Entrance: Enter at 100% speed but reduce feed by 50% for the first 0.100″ of depth to let the tool stabilize.
Troubleshooting Common Issues
The “Scream”
If the drill is screaming (high-pitched whine), you have vibration.
- Fix: Check your setup rigidity. Increase the feed rate slightly to load the tool—sometimes “babying” it causes more chatter than cutting aggressively.
Bird Nesting
If you see long, stringy chips wrapping around the tool holder, your feed rate is likely too low, or the insert chip breaker isn’t suited for the material.
- Fix: Increase feed rate to break the chip. You want “6s” and “9s” (tight C-shaped chips), not razor wire.
Rifling Marks
When retracting the drill, the outer insert often drags slightly, leaving spiral scratches (rifling) in the bore.
- Reality: This is normal. Indexable drills are roughing tools. If you need a mirror finish, follow up with a boring bar or reamer.
FAQ
Can you use an indexable drill on a mill?
Yes, absolutely. However, you cannot use the “offset trick” to change the diameter like you can on a lathe. The drill must run on the spindle centerline. Ensure your spindle has through-coolant capability.
Why do indexable drills usually have a flat bottom?
They actually don’t create a perfectly flat bottom; it’s usually slightly crowned or “W” shaped due to the insert overlap. However, it is much flatter than the 118° point of a twist drill. If you need a truly flat bottom, you’ll need to follow up with an end mill or a flat-bottom drill.
Can I use an indexable drill without through-coolant?
In my experience, no. While you might get away with it on very shallow holes (1xD) using flood coolant, it’s a gamble. Without internal pressure flushing chips out of the hole, you are begging for a tool failure.
Do indexable drills need a pilot hole?
No. In fact, pilot holes are detrimental. The drill is designed to self-center as the inner insert engages. A pilot hole disrupts the balance of forces and causes vibration.
Can I stack drills to go deeper?
Standard indexable drills come in length ratios like 2xD, 3xD, 4xD, and 5xD. If you need to go deeper, say 7xD, you generally cannot just “peck” your way down with a standard indexable. You should switch to a spade drill or a specialized deep-hole gun drill.
Conclusion
The indexable drill is a beast of efficiency. It won’t give you the mirror finish of a reamer or the diametric precision of a boring head, but it will remove 300% more material per minute than high-speed steel ever could.
If you are running production batches and drilling holes larger than 0.75″, and you aren’t using indexable technology, you are leaving money on the table. Check your tool crib today—if you see large diameter solid carbide drills being used for roughing out bores, you have an immediate opportunity to cut costs.